Chapters allow you to split up your campaign into manageable chunks. When you select a chapter, only the objects for that chapter will show so you can easily focus on only those that are relevant to the current part of the story.
Think of them as a pre-defined object filter.
You can create as many chapters as you want and assign objects to as many of those chapters as needed. The chapter tab bar scrolls or drags so you can see everything.
You can always see all objects in the campaign by clicking on the campaign tab (the tab to the left of the chapters with the campaign name on).
Creating chapters
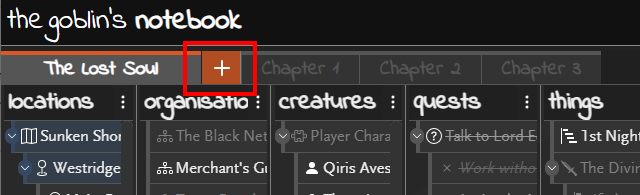
To create a chapter, either click on the Add chapter button in the chapter menu
or right-click the campaign tab and select Add chapter from the context menu. Give the chapter a name and press Ok.
Which objects appear in chapters?
Objects will appear in every chapter that they are assigned to. Objects that are not assigned to any chapter may appear in all or none of the chapters as specified by this setting in the campaign preferences.
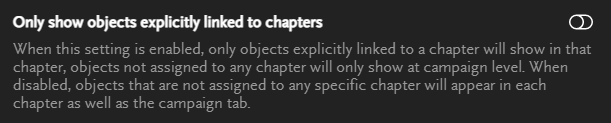
When switched off (the default behaviour), any object that isn’t assigned to any chapter will show in every chapter. This is useful for player characters, for example, as they are constant throughout the campaign. It is also helpful when the same locations are used throughout the campaign or for NPCs or quests that are not tied to one specific part of the story.
If you turn this setting on then only objects that are included in the chapters will be shown when the chapter is selected. If you want objects to appear in all chapters then you would need to explicitly assign them to each chapter.
How to add an object to one or more chapters
The chapter an object will initially be linked to depends on the “New child objects use parent object chapters” setting. When enabled, an object will inherit its parent chapters. When disabled, it will be linked to the currently selected chapter.
The easiest way to add an individual object to a chapter is, while the object is selected, right-click the chapter tab and select Add <object name> to <chapter name>.
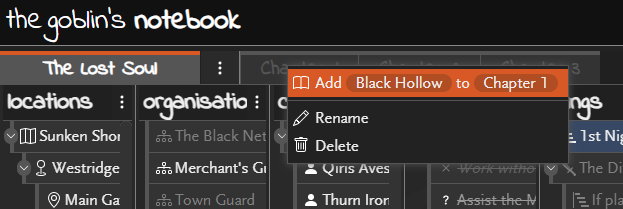
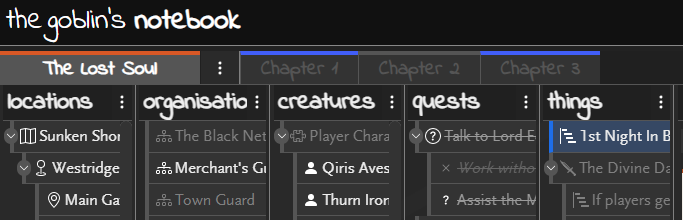
This will add the object to that chapter. You can see which chapters the object is included in by the blue bar at the top of the chapter tab. Objects can be included in any number of chapters.
To remove an object, right-click on a chapter tab that it is included in and the context menu will have the an option to Remove <object name> from <chapter name>.
How to add an object to a chapter without the context menu?
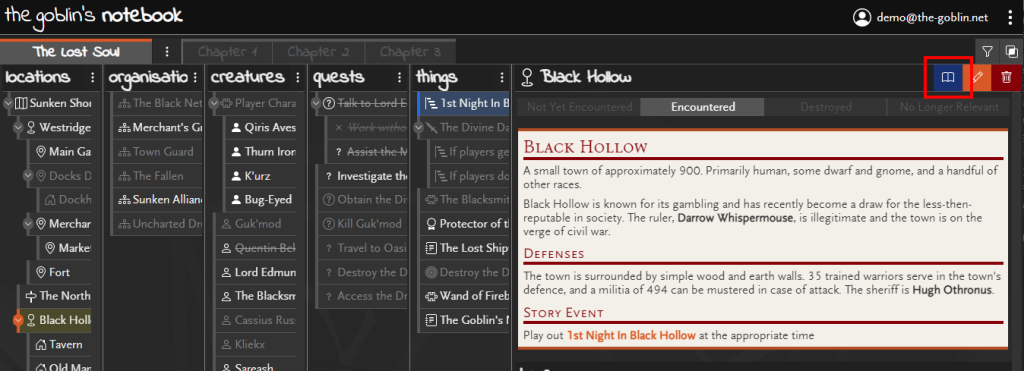
If you are on a device that doesn’t support the context menu (some touch devices don’t show it) then you can still add objects to chapters. Firstly, select the object then from the object menu click the blue “Link or unlink” chapter button
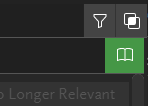
The notebook will be in ‘link chapter’ mode, indicated by the green chapter button.
To link the object to a chapter, simply click the chapter tab. If you select a chapter that the object is already included in (indicated by the blue bar on the chapter tab) then it will be removed. If you want to cancel this, either click the green chapter button or press the escape key.
Adding or removing multiple objects
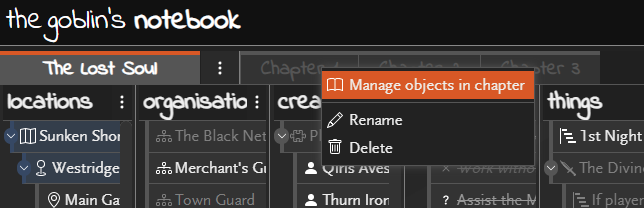
If you need to add or remove multiple objects quickly, you can use the chapter object management. Firstly, select the campaign tab (so all the objects in the entire campaign are shown), then right-click on the chapter you want to manage.
This will set the notebook to ‘manage chapter’ mode, indicated by the green chapter button.
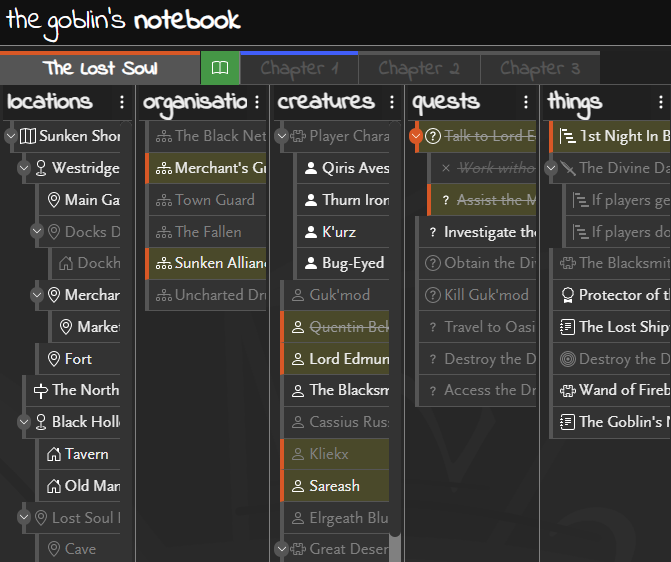
Objects that are assigned to this chapter are highlighted in orange. Simply click objects to add or remove them from the chapter. Once finished, press the green chapter button or press the escape key.
Limiting Journal Entries
By default, journal entries on objects that are marked as campaign notes are shown on all chapters they are assigned to. This can cause entries to appear from before the chapter was “active” which can be confusing to see. In order to avoid this, you can set start and/or end dates for chapters to filter out journal entries that were made outside of these times. When date filters are added to a chapter it will also show campaign journal entries made within these dates, this will then give a more complete journal view for the whole chapter.